


How to Add or Remove 'Move to OneDrive' Context Menu in Windows 10 & 11
By Timothy Tibbetts |
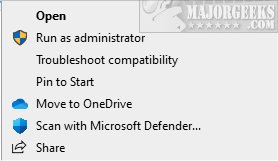
OneDrive is the free 5GB cloud storage that is included free in Windows 10. When OneDrive is running, you will see a Context Menu item to "Move to OneDrive" when you right-click on any file. Here's how to remove the Move to OneDrive Context Menu.
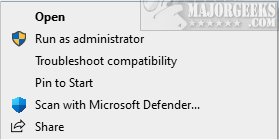
Example before and after:
Download Add or Remove Move to OneDrive Context Menu in Windows 10 and extract the four files.
Double-click Add Move to OneDrive or Remove Move to OneDrive (Default) to Add or Remove 'Move to OneDrive' Context Menu for the current user, or all users.
Click Yes when prompted by User Account Control.
Click Yes when prompted by Registry Editor.
Click OK when prompted by the Registry Editor.
This tweak is included as part of MajorGeeks Windows Tweaks.
Similar:
How to Disable OneDrive Automatically Starting in Windows 10
How to Add or Remove the OneDrive Shortcut in File Explorer
How to Fix OneDrive Problems in Windows 10
How to Delete, Add, and Edit Context Menu Items
How to Add or Remove New Folder Context Menu in Windows 10
comments powered by Disqus
